Table of Content
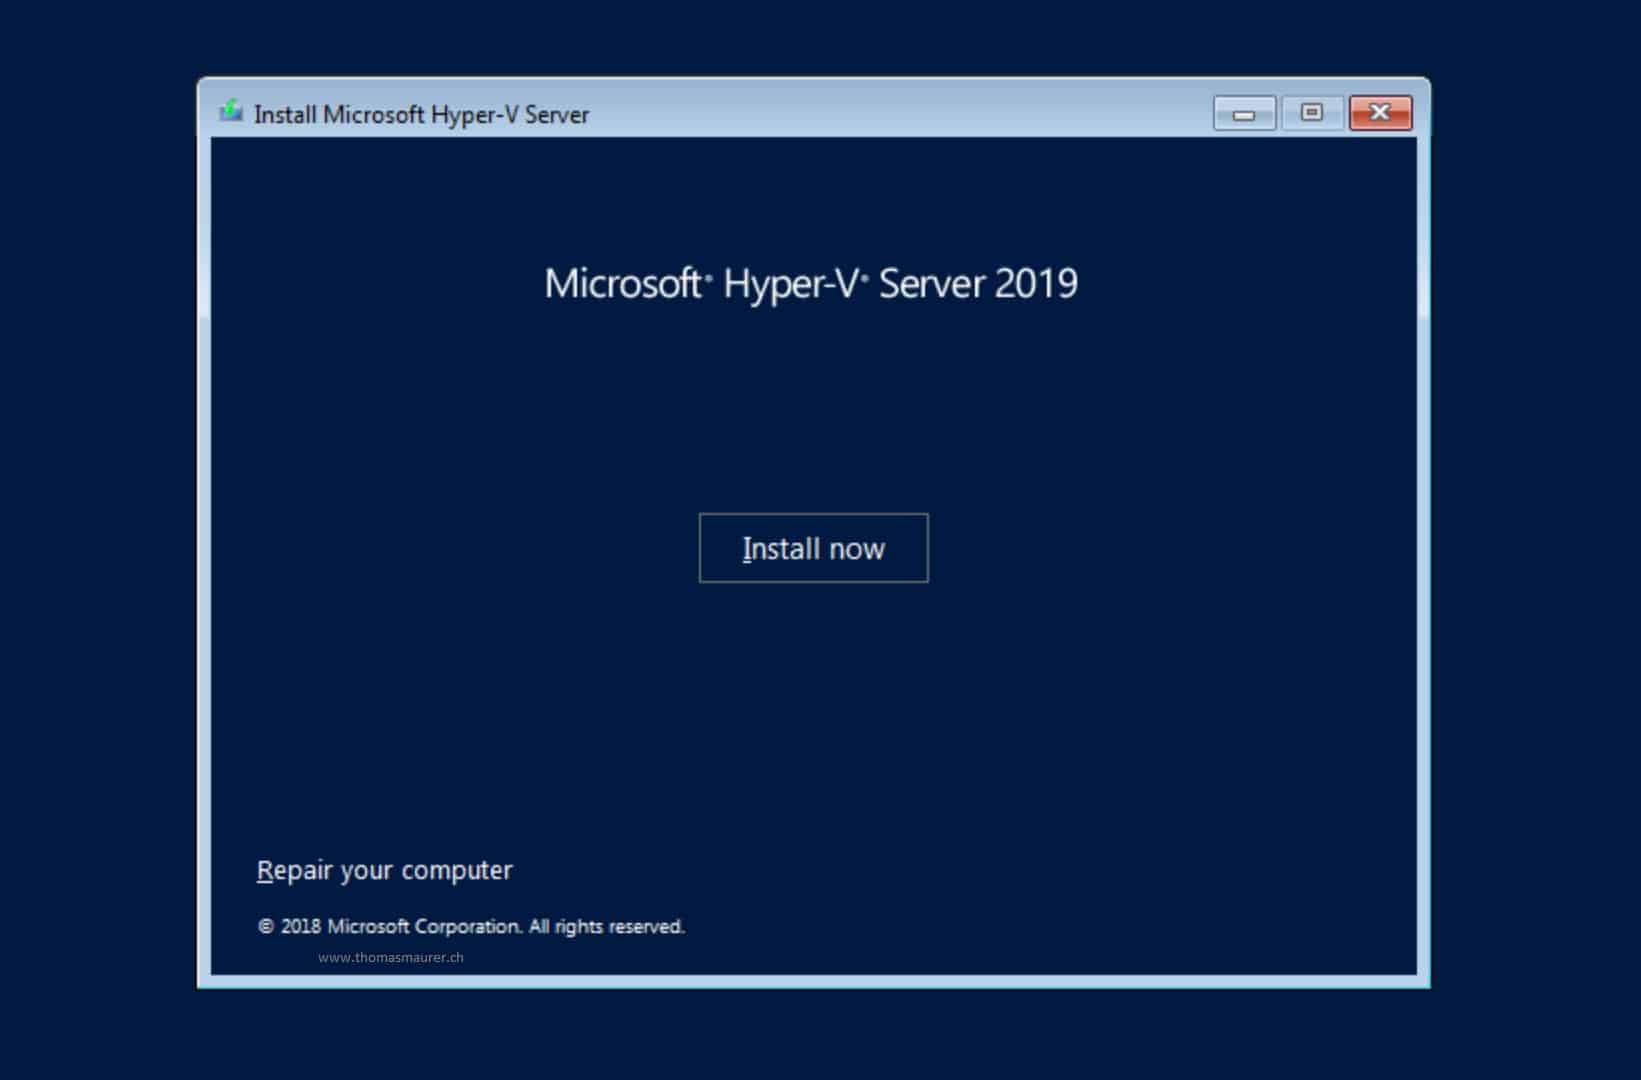
After creating a new partition on the virtual disk, select the Primary type Drive 0 Partition 3 and click Next to start the Windows installation. Set the display language, time and region settings, and keyboard layout you want to use on the Windows 10 setup screen and click Next. After starting the virtual computer, press any key on your keyboard to start the installation with the ISO image mounted on the CD/DVD device. After creating the Windows virtual PC and configuring its settings, you will now follow the same steps on the VM as if you were installing the system on a physical computer. After checking the settings you made in the summary window in the last step of the virtual machine wizard, click Finish.

Whereas for the latest features and only 64-bit with UEFI boot supported OS users can go for Generation 2. However, you can leave the default selection as it is if you are not sure about this. As we run the Batch file, it will open a Command prompt to run the code saved in it. Make sure you have an active internet connection on your system to download files required to install and activate Hyper-V on Windows 10 Home. This will take some time depending upon your network speed. Hyper-V is Microsoft’s virtualization platform.
Execute the Hyper-V Enabler Batch File
To close your Visual Studio if it is open. Otherwise that Bat file will run in an infinite loop. This is the only Windows Pro feature I use and I could NOT justify the additional $99 to upgrade for ability to use one application. Hyper-V won’t work on Windows 10 Home version.

To continue creating an offline account, click Limited Experience. At this stage, you will be asked to enter a Microsoft account. If you don’t want to log into the VM online, you should click Offline Account. To accept the Microsoft software license terms, check I accept the license terms and click Next.
How to Enable Hyper-V on Windows 10 Home Editions?
You need the list of packages Hyper-V support requires. When the next windows feature upgrade happens it will disappear. Hi Usman, I installed this & it worked for me. But I am not able to uninstall it using the command that you pasted above. It only disables hyper v but I would like to uninstall it from my system. The method given above automatically enables Hyper-V as well as installing it on a Windows Home.

Just recently, we managed to run Windows 10X on Windows 10 PC using Hyper-V. While that’s great, the issue with Hyper-V is that it’s available on all editions of Windows 10 except for Home. But there is a workaround that allows you to install Hyper-V on Windows 10 Home. So if you want to learn about the steps, follow our guide below.
Enable Hyper-V from Optional Features
One reason it is also less expensive is that it does not require specialized knowledge. But then users may get into a situation where they want to install Hyper-V on Windows 11/10 Home edition. You can also see all the files or folders that you have copied into the flash memory on the virtual PC on the host. Thus, you can transfer data between the host and the VM more easily. Plug a USB memory into your host computer and then connect to your virtual computer in Hyper-V.
If you do not want anyone else to access your guest operating system, you can create a memorable password. To configure the region settings of your system, select the country you live in and click Yes. There was a problem preparing your codespace, please try again. Tashreef is a developer and works as a technical writer at MakeUseOf. With a bachelor's degree in Computer Applications, he has over 5 years of experience and covers Microsoft Windows and everything around it.
How to install Hyper-V on Windows 11 Home
Once the installation is complete, the Hyper-v will automatically get enabled on your system. Thus, to make changes into effect, the system will ask you to restart it. Simply type Y on your command terminal and press the Enter key. Now open the run command by pressing Windows + R and type optionalfeatures.exe and hit enter this command will open Windows Optional features. Type the name of the Windows operating system, check the Backup virtual machine’s files in an external location option, and select your external SSD or NVMe disk via Browse. To create a new virtual machine with default settings, you can directly click the Finish button or choose to create a custom VM by continuing with Next.
Some of these commands are available directly with Windows; people don’t know about them. We already know how to enable the Group Policy Editor in Windows 10 Home, and now this script will get you Hyper-V. Once you downloaded or created a Batch file with the given code by yourself on your Desktop. Right-click on that and select “Run as Administrator“.
Usman Khurshid is a seasoned IT Pro with over 15 years of experience in the IT industry. He is also certified in Microsoft Technologies and also Cisco Certified Professional in Routing and Switching. The computer will now restart, When it does, Hyper-V should be enabled successfully. Once rebooted, Hyper-V will have installed and automatically enabled on your Windows Home. Enable virtualization from BIOSNow save the new settings and exit BIOS. Let the process run; it may take a while.
Click the Processor hardware in the settings of the Windows 10 virtual PC and increase the number of virtual processors according to the characteristics of your host CPU. Here, you can additionally enable the Dynamic Memory feature to automatically increase the RAM size by the program in case the VM needs more memory. You can configure the maximum RAM size to be used from the host in the Dynamic Memory settings of the VM. Press the Power button to turn on the computer and then start pressing the F10 key to enter BIOS. The BIOS setup key varies depending on the manufacturer. So, use F10, F2, F12, F1, or DEL and see which one works for you.


No comments:
Post a Comment